To start with it's best to use "00" pasta flour as it's a lot finer than regular flour and it's going to give the best results. Most supermarkets stock it now. For each portion you will need 100grams of flour and 1 egg,- that's all. For us three I only use a double portion rather than a triple as it makes plenty for our appetites.

The correct way to mix it is by hand with plenty of kneading, but since the operation on my wrist I find it aches quite quickly so I cheat and mix it in the food processor, it still gives the same results.

When it's mixed it should look like this, a nice, squidgy dough. I find I have to add an extra half an egg as Hazels eggs are slightly smaller.

Once you have mixed your dough wrap it in clingfilm and leave it to one side for about 15 mins to rest.

A word on pasta machines, buy the best you can afford, it's worth it in the long run as it is going to last for years. Your machine needs to be heavy and solid. A friend bought a cheaper version and it broke after the first use. When this machine is attached to the table it doesn't budge which is vital as you don't want it sliding all over the place , it just makes the job harder and you will be less likely to use it. It will sit at the back of the cupboard gathering dust.
This machine comes with an attachment for making spaghetti and tagliatelle.


When you are ready to start rolling set the knob to 6, the widest setting. Break the dough into manageable size pieces ( they are going to get long) and make sure it isn't too sticky by flouring it. Put it in between the rollers and turn the handle. Just support it as it comes through so it doesn't stick to itself.

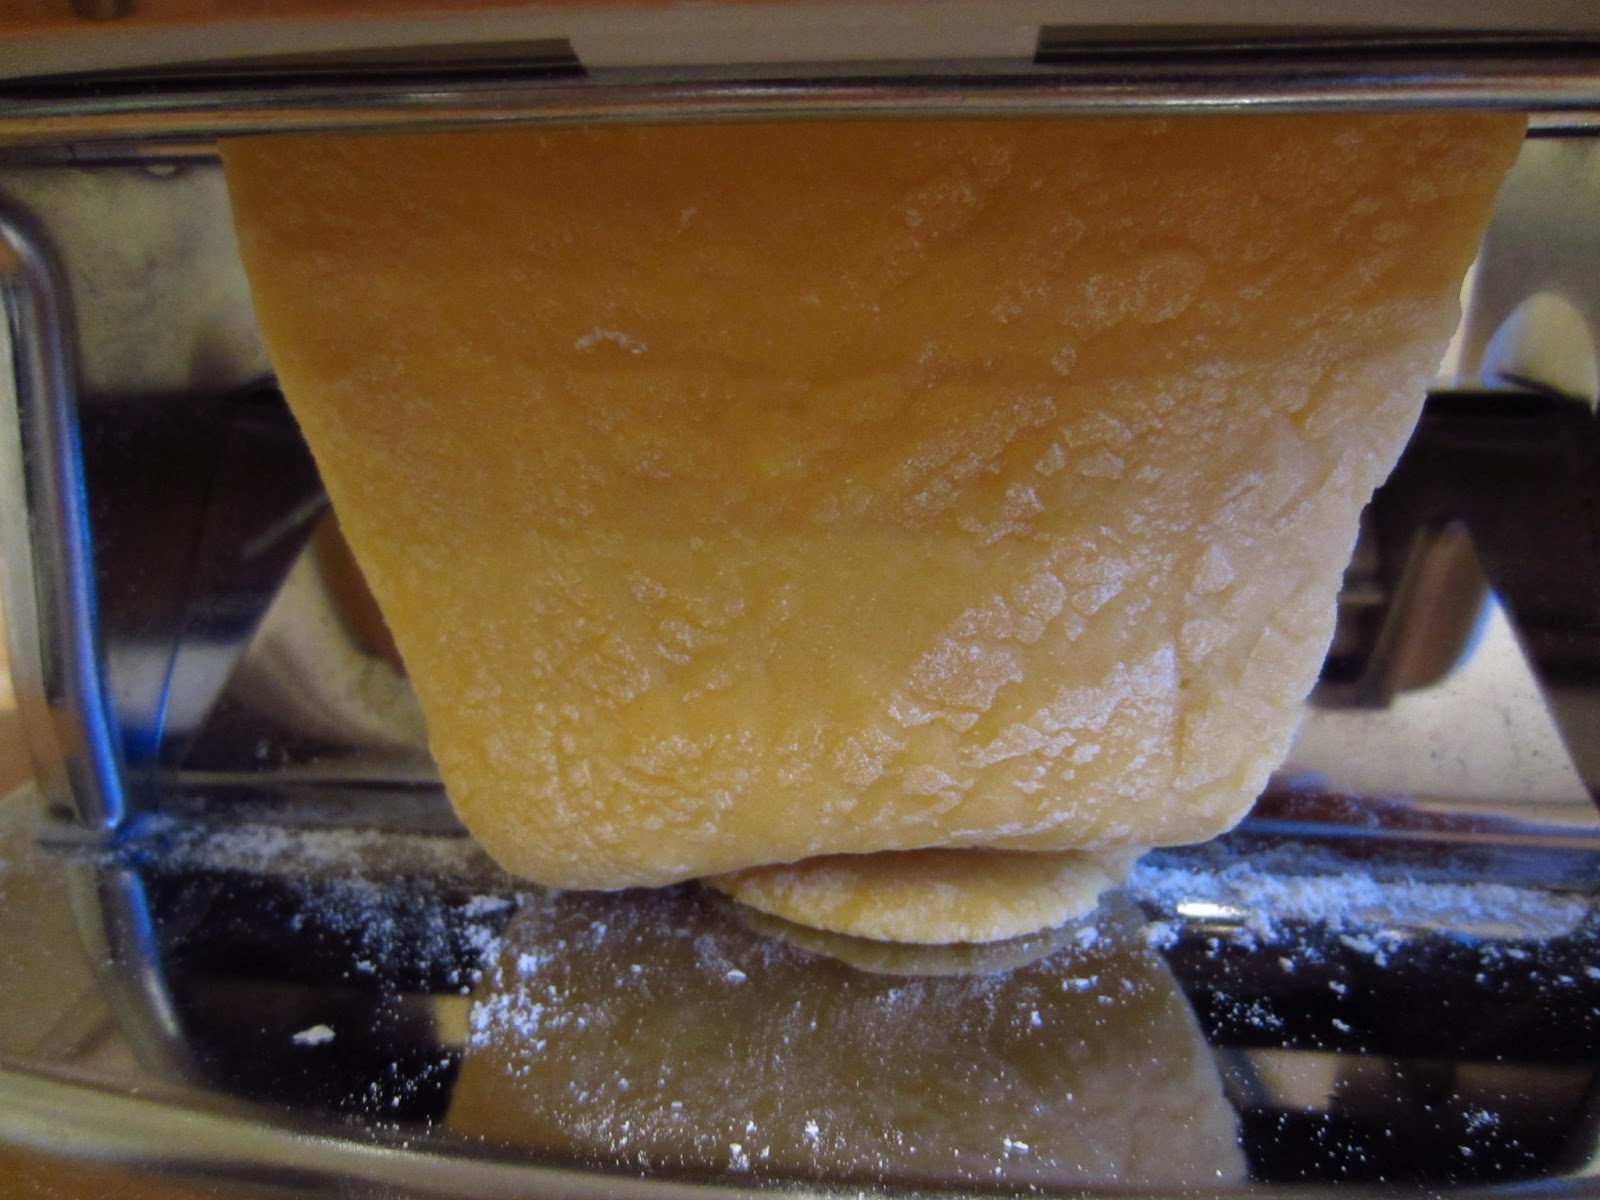
When it's gone through once you need to fold it into three and put it through again on the widest setting, and then repeat this again. This is to increase it's elasticity.

Once you've done that 3 times then just keep turning the knob round to the next number and feeding the pasta through once on each setting ( no need to fold the pasta into three any more). For tagliatelle I tend to stop at number 2 as I don't want it any thinner, but it's down to personal choice.

The pasta will just keep growing

and growing. Repeat it all again with the rest of your pasta until it's all been rolled.

Now comes the exciting bit ,the cutting attachment. I'm making tagliatelle here.

This is where you need more than one pair of hands on your first attempt! Feed the long sheet of pasta through the cutter (again flour it to stop it sticking) and magically it comes out the other side perfectly cut. Ta-dah.

I hang mine on wooden coat hangers until I'm ready for it but it will dry out quite quickly,so if it's not going to be cooked for some time take it off the hangers before it dries out too much or it will break when you try to get it off ( I learnt that from experience). Lie in on a tray of polenta to stop it sticking together.


Bring a large pan of water to the boil and drop in the pasta, it takes about 3 -5 mins to cook depending on the thickness.

Serve with whatever sauce you want, (we went for Ragu) and enjoy.

Hope this inspires you to have a go. Any questions, just ask.
I'm feeling quite hungry now!


