Friday, February 15, 2013

How to make a rag rug

Today I'm going to share with you all how to make a shaggy rag rug. I've seen a couple of articles in magazines on the craft and it seemed like a nice easy one to attempt, so a rag rugging kit was added to my Xmas list. Luckily Santa was good to me and I found one under the tree. If you wanted to purchase one for yourself then this website is where Santa got mine from. The kit contains a large piece of Hessian and two handmade tools ( see further down). What you need to supply is the rags. If you are lucky you will already have a pile of old clothes suitable, but I didn't as all mine had been sent to the charity shop (very short sighted of me, I know) and Hubby wasn't letting me get my hands on his clothes. So I bought a load of cheap t-shirts in co-ordinating colours.
This pile needs to be cut up into 1 inch wide strips. If it was cotton you could rip it but jersey fabric doesn't really rip, so cutting it is.


That's the most boring part of it and I only do it a few bits at a time. 


Once you have your long inch wide piece it needs to be cut into shorter pieces ready to pull through the matting.


This is where the tools come in. The two that come in the kit are the rag rugger and the gauge.


The wooden gauge is an invaluable bit of kit as it means all your short pieces can be cut to the right length easily. Just wrap the long piece around the gauge like this.


And then cut down the groove.


And you will be left with perfect lengths of fabric. Magic isn't it. I really couldn't manage without it.


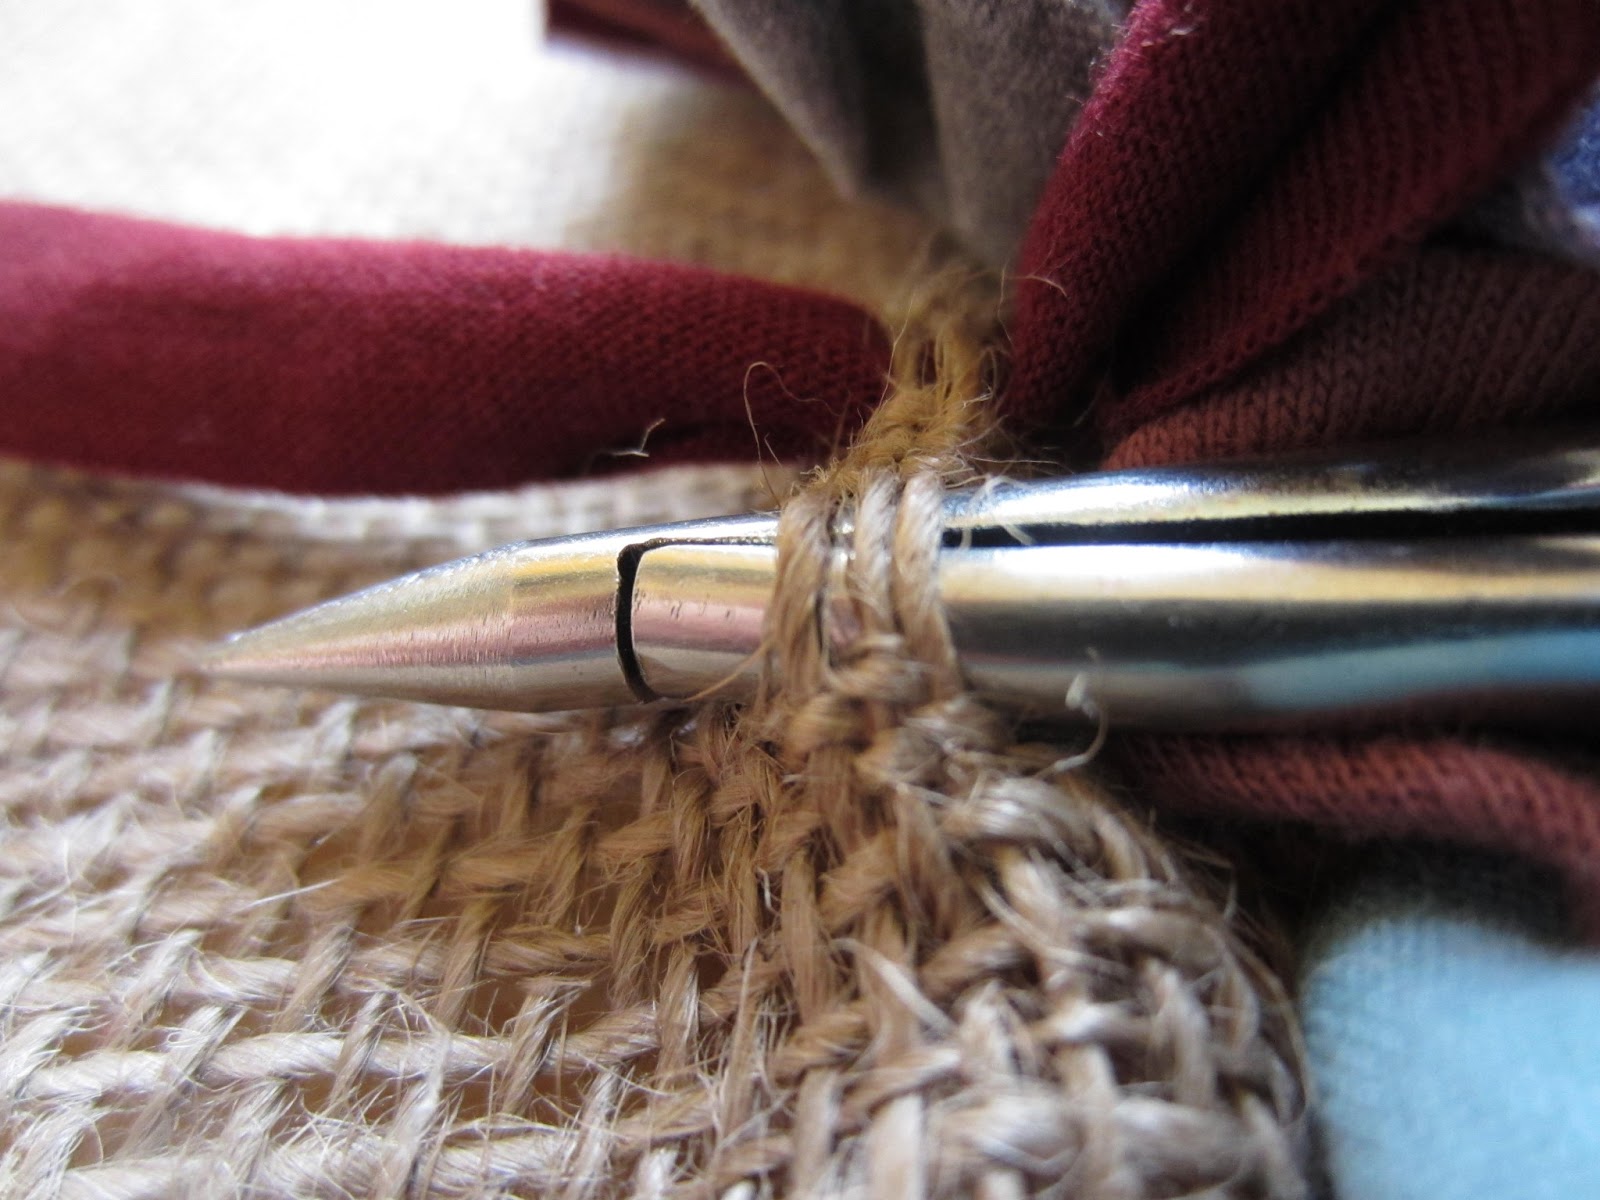
Once you have a pile of short (about 3 inch) lengths then the rugging tool is needed.


Push the pointy end under 2 or 3 vertical strands of the hessian it doesn't have to be precise.


Grab the end of the fabric by squeezing the handles together.


Then pull it back through the hessian and leave go of the fabric.


Next go back into the hessian about 2 or 3 horizontal strands above or below and do it all again. And that's it. Easy peasy.


You can see below I have pulled the lilac through underneath the burgundy. It doesn't matter where you start on your hessian but when you want to make the next row leave about 4 or 5 vertical strands between the rows as seen below. 


It looks like quite a wide space but once a few rows have been done you can't see the gaps - honestly.


This is what the back looks like, I haven't been very accurate with the gap spaces but it doesn't show on the right side.


A handy hint is to turn in the edges about 2 inches (to the right side) before you start and secure them all the way round with a bit of fabric. That way the frayed ends will be hidden under the shagginess of the rug and unable to fray any more.


This is how mine looks so far, I usually manage a couple of rows at a time before my neck and shoulders start to ache.


I hope this has all made sense to you but if you have any questions then please ask.


Wednesday, February 13, 2013

Infinity scarf

I've finished knitting my new infinity scarf and I love it. I didn't think that I suited a cowl type scarf as I have a short neck and they tend to be quite bulky thus emphasising the shortness. But this scarf drapes beautifully and isn't at all bulky.


The pattern is a freebie on the Deramores website and it's a Debbie Bliss rice stitch cowl which is nice and easy to do, not too much concentration needed. You can just make out on the photo below how the reverse side pattern is different to the other. I made it with the gorgeous Debbie Bliss Andes in Lilac and it took three skeins but knitted up very quickly, the pattern is for a bulkier wool I think but it easily converts to other weights.  I've been wanting to make something in this yarn for a while as I'm constantly drawn towards it in yarn shops to squeeze and stroke it so this seemed like an ideal project. Just right for this cold weather, it's starting to snow again as I write this.


Something else I've been wanting to share for a while now is this beaded glass cover. The crochet cotton I purchased from Italy last year and it came in a fabulous array of colours. The beads came from a local bead shop.I can't remember where I got the pattern, I think I adapted it from one off the internet. I will have to try and remember it as I want to make some more to keep the bugs out of our wine in the summer.  


A bit of a disappointment this week is my new socks. I've only worn them about half a dozen times and the heels have worn through!!! It was the sock wool I got for Xmas and it was good quality so I don't know why it's happened. If anyone can advise on how to avoid it in the future then I will be pleased to hear from you.


Quick rag rug update, this is how it looks now. I leave it on the floor all the time when I'm not working on it but I walk round it rather than on it!! Defeats the purpose of it really but I can't bring myself to tread on it, seems wrong somehow as it's not finished. Silly I know.


Thanks for visiting and a big hello to my new followers, you are very welcome.